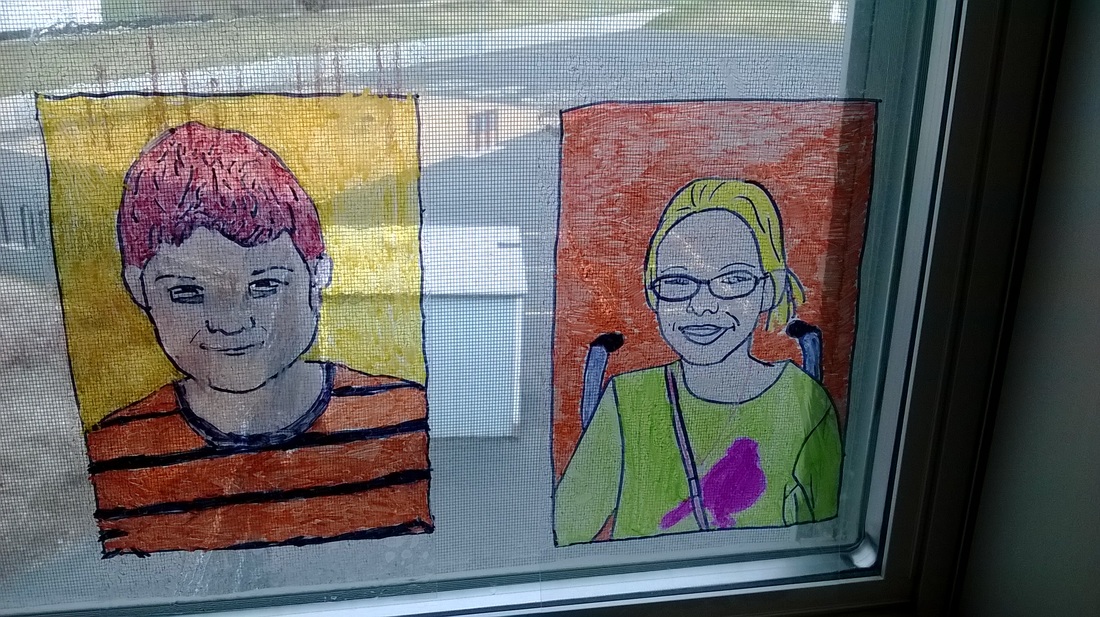
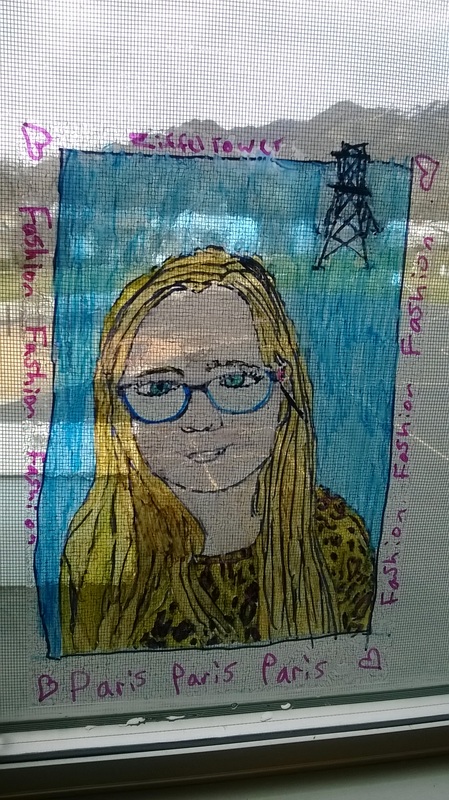
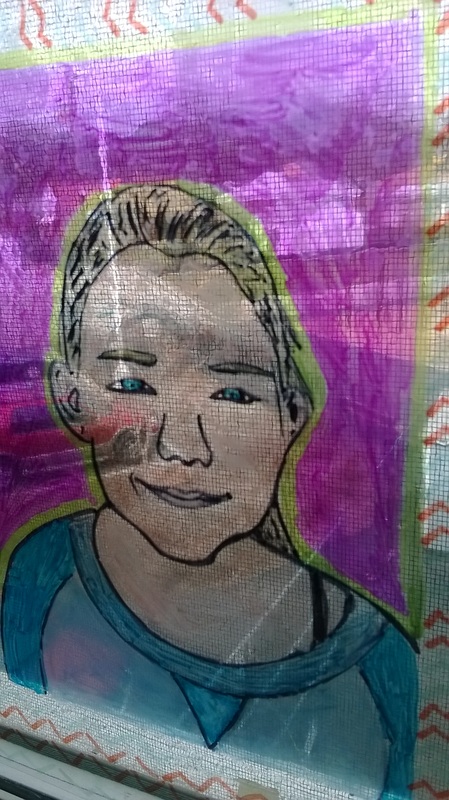
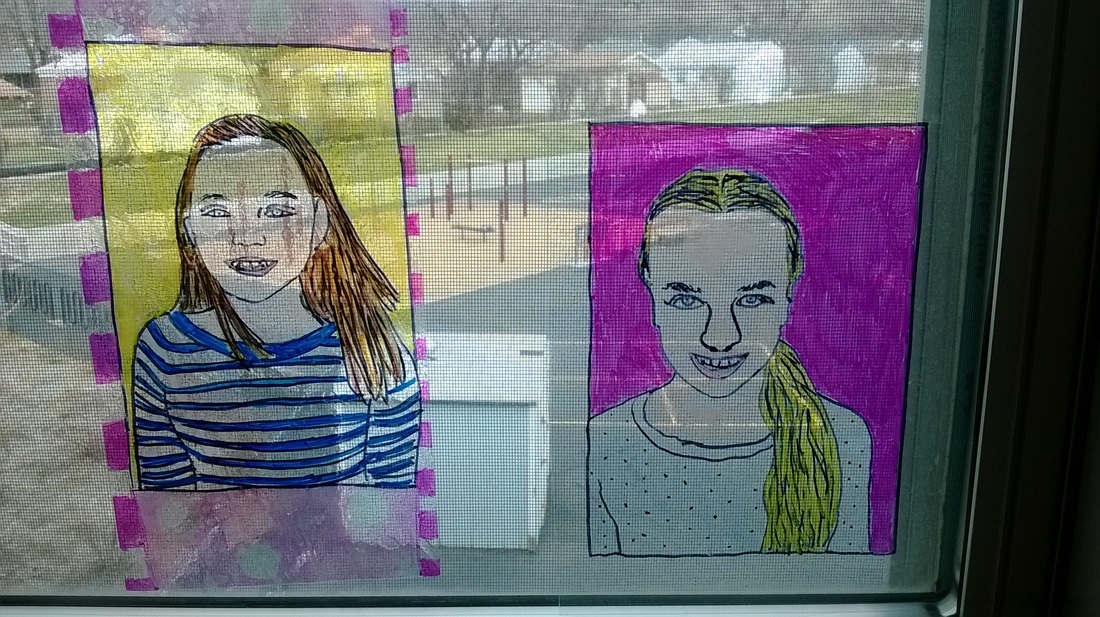
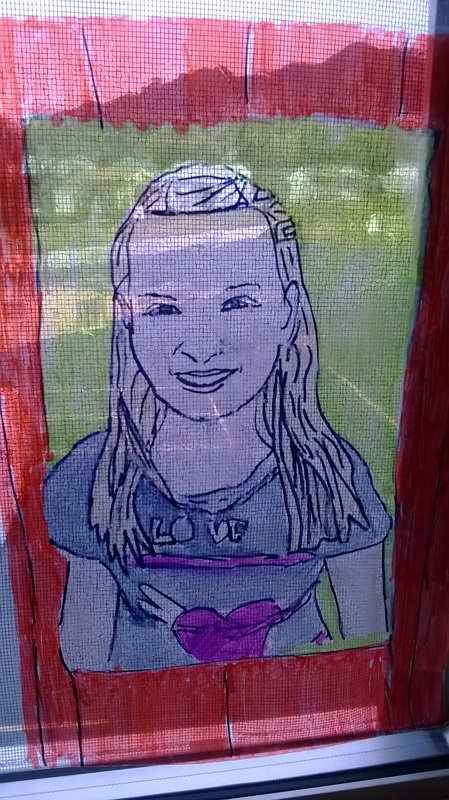
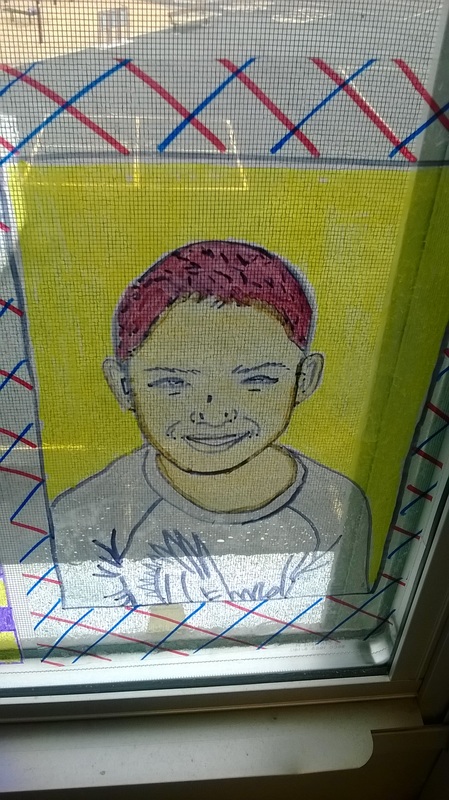
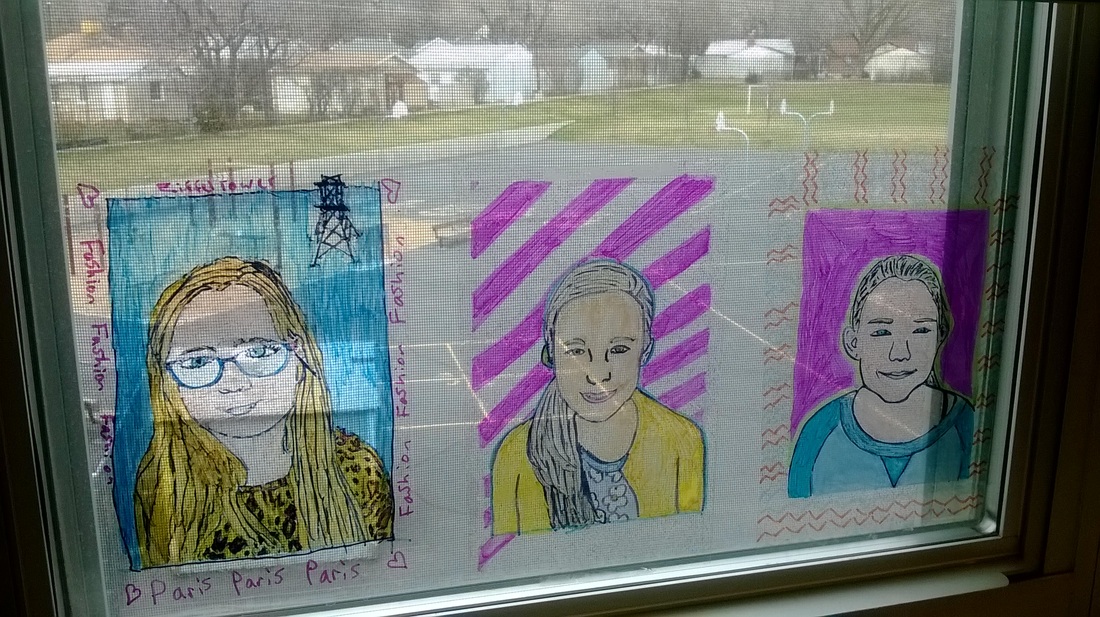
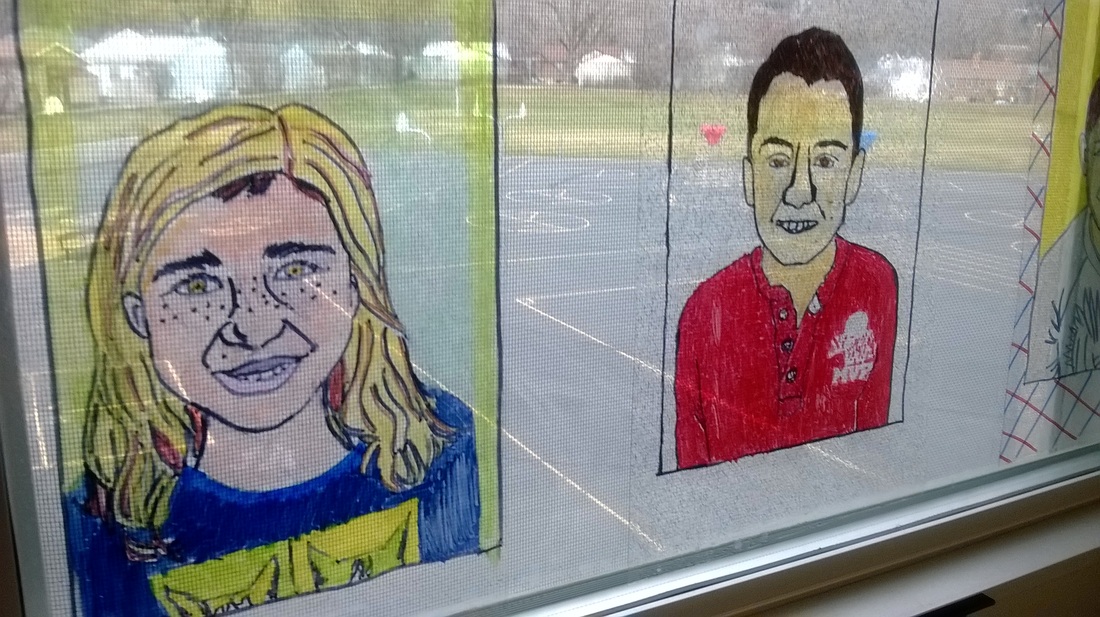
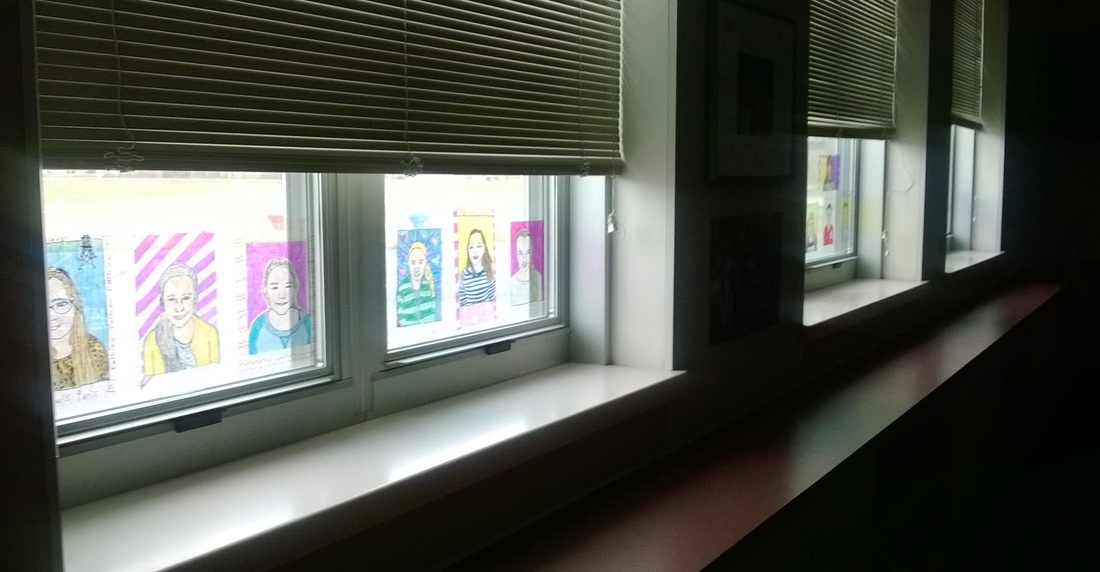
It's amazing what you can do with Sharpies, sheets of plastic from Walmart, and photocopies of student photos. (Just make sure the Sharpie side stays facing out instead of facing the window.)
|
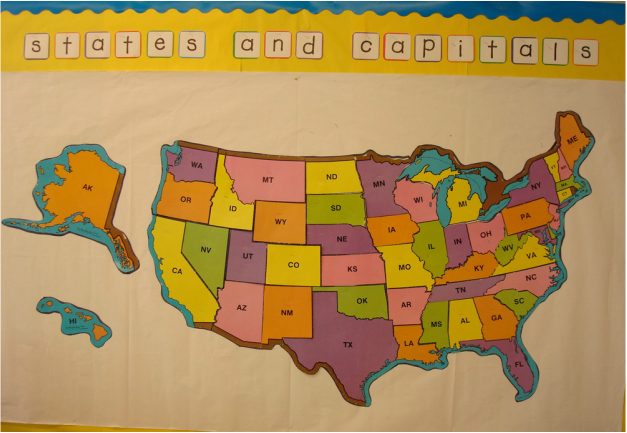
Our second book report was a map. We had to illustrate and explain the beginning, rising action, climax, and falling action of a book we read independently this month. We even used the map key. We are well on our way to a fabulous performance on November 19th and 20th! Get ready for Shakespearean greatness! To see this year's cast list and practice schedule, click below: So far we have: 1. read about and done group presentations on Shakespeare's life 2. studied facts, watched short videos, and answered questions about history, customs, and dress in the Elizabethan Age 3. discovered the meanings of many of the phrases we use today that were originally made-up by Shakespeare 4. learned about the Theater in Shakespeare's day and created mini-models of the Globe Theater 5. read and acted out parts of the story of this year's play - "The Comedy of Errors." 6. practiced our acting skills of being loud, clear, having expression, and adding motions to help tell the story Look below for just a few examples of our work!
I found this idea on Pinterest. It's amazing what students can do with clear vinyl from Wal-Mart (you know, the kind you buy by the yard to protect tablecloths from spills), greyscale photo printouts of each child, and colored Sharpies.
1. Take a photo of each student and print them out. Some photo editing programs offer a feature that will "outline" them for you, which makes it a bit easier for students to decide which parts to outline. 2. Cut the clear vinyl to match up with the photo but leave enough for a border. Mine were cut to about 5 1/2 x 8 1/2 (about half of a normal sheet of paper), because the photos printed two to a page. 3. Have students center the clear vinyl over their photo and trace the basic outlines of their face and shoulders in black Sharpie. 4. Have students color themselves and add a background or frame. 5. Spray a little water (1-2 spritzes) on the window and attach the window cling. IMPORTANT: Make sure the Sharpie side is NOT against the window, or the Sharpie will come off on the window and ruin the student's project. Everyone who came in my classroom loved to look at these. As light came through the window, the self portraits produced a stained glass effect. Thank you for your help with these, Amy Hemingway and Heather Erickson! Mrs. Sheffield helped the students make these neat silhouettes when they did their science unit on inherited traits. Parent volunteers set up a light and traced student outlines. The students themselves cut out the silhouettes carefully and mounted them. Students enjoyed guessing who was who.  Each homeroom had its own Valentine's Day party before lunch with games and treats. Thank you, awesome room parents!!! One of my favorite games to watch was "If You Love Me, Baby, Smile." We also handed out valentines and probably ate too much of our traded candy (although sugar was not given out by the teachers). Some of the students had fancy valentines boxes! Oh, and earlier in the month, we made some stuffed hearts to hang in the windows. Students used a crayon resist technique with a watercolor wash on construction paper. (You know, use crayons first and then paint over it, but the paint runs away from the crayon.) They cut 2 matching hearts out of the paper they had decorated. Then, I taught them the blanket stitch, and they stitched around the outside of the heart. We stuffed them with old plastic bags, punched a hole in the top, and hung them from varying lengths of ribbon. I liked watching the hearts dance about in the windows as air circulated through the classroom.  This year was the first year that we had a parent volunteer direct our 5th grade Shakespeare play instead of taking it on ourselves. Stephanie Nelson, you are amazing! We had 2 casts and one play: "As You Like It." Practices mostly took place before school. We still took 3+ weeks in class to research Shakespeare's life and times and to become familiar with the story of "As You Like It." Feel free to ask the students about Queen Elizabeth, the Globe Theatre, the plague, bear-baiting, or social customs of 16th Century England. Everything came together so nicely, and the play was a huge success!  A huge thank you to moms Leslie Mingo and Heather Erickson for their fabulous idea and help making this Halloween craft! You'll need: strips of orange and yellow tissue paper, squares of black construction paper, green curling ribbon, a balloon for each student plus a few extra just in case, a mixture of 1 part Elmer's glue (the white liquid kind) and 1 part water, sponge paint brushes, a hole punch, scissors, and tape.
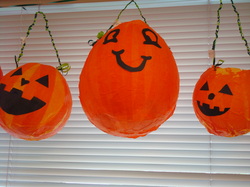 Generally speaking, the pumpkins need 24-hours to dry (depending on climate, amount of glue used, thickness of tissue, etc.)
The next day, students can use scissors to pop the balloon and clean up the ragged pumpkin top. Next, it's time to glue on the face. Then, they punch a hole on each side, tie on their green handle, and use scissors to curl the ends (optional). The first assignment I give in Language Arts is for students to come up with one quote that inspires them and to explain what it means to them. Then, we type them up, add our names, and choose a graphic. Once printed and laminated, one copy goes to the student as a bookmark and the other is taped to his/her locker as their nametag for the year. The idea is that they'll start every day inspired.
I enjoy reading the quotes and even more so finding out why the student finds it inspirational. It gives me a hint into the personality of each student. |
Archives
May 2017
AuthorKaren Redmon originally migrated to SLC from Memphis, TN. She has a Bachelor's in International Relations from BYU and a Master's in Teaching from Westminster. She's taught 4th, 1st, and 5th grades. Her interests include: camping, hiking, swimming, dancing, singing, pottery, sewing, theater, music, reading, and most of all-- learning. 
Categories
All
|


 RSS Feed
