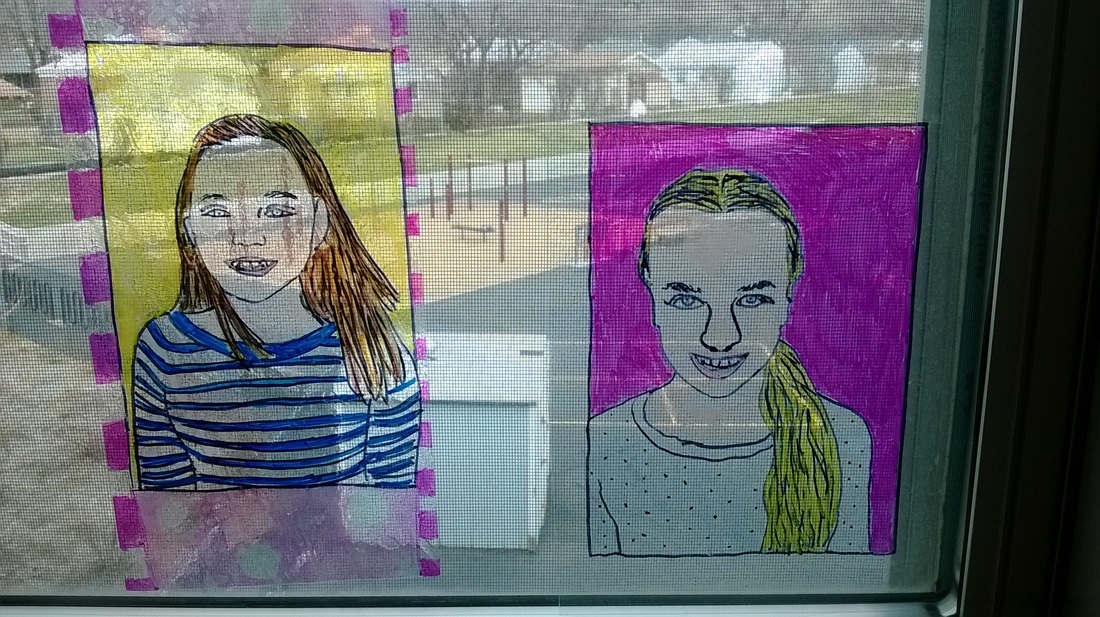
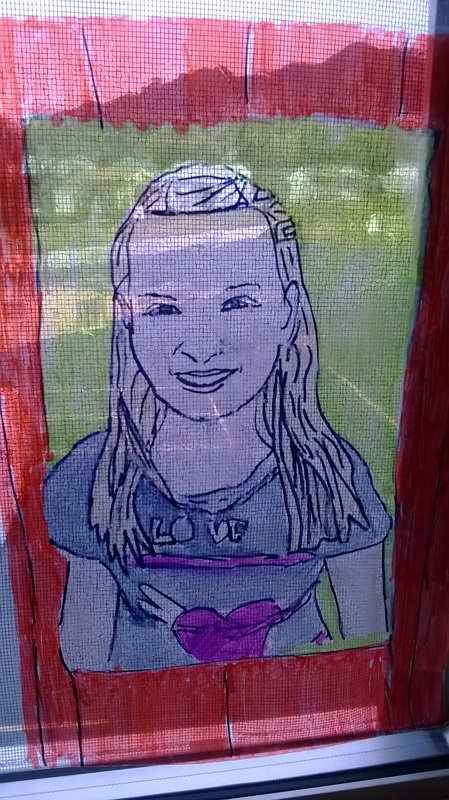
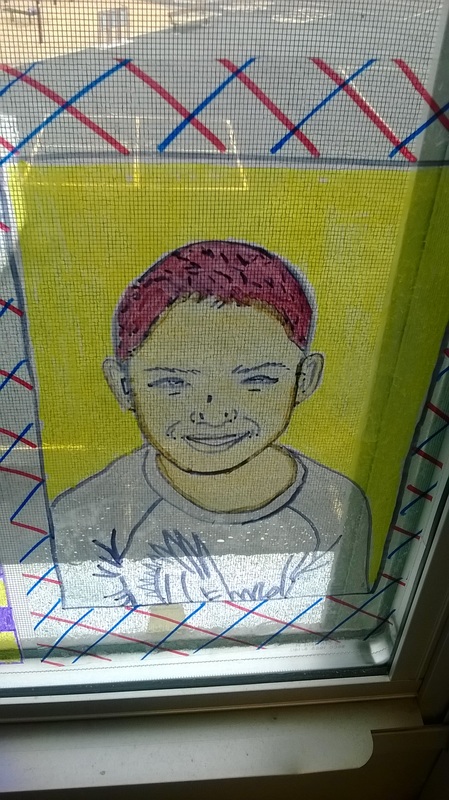
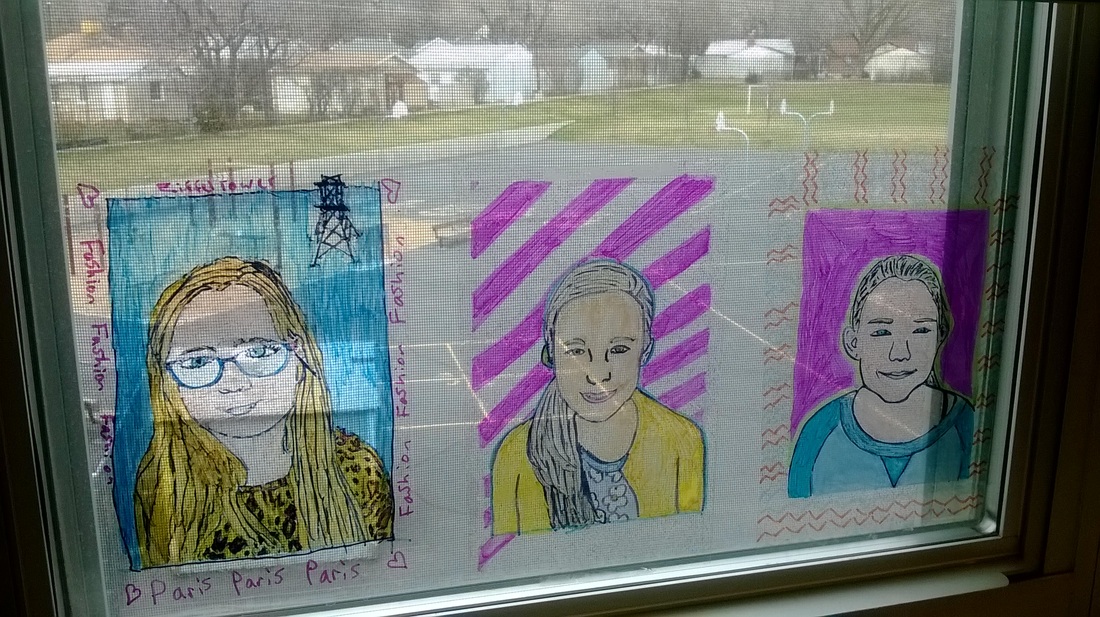
I found this idea on Pinterest. It's amazing what students can do with clear vinyl from Wal-Mart (you know, the kind you buy by the yard to protect tablecloths from spills), greyscale photo printouts of each child, and colored Sharpies.
1. Take a photo of each student and print them out. Some photo editing programs offer a feature that will "outline" them for you, which makes it a bit easier for students to decide which parts to outline.
2. Cut the clear vinyl to match up with the photo but leave enough for a border. Mine were cut to about 5 1/2 x 8 1/2 (about half of a normal sheet of paper), because the photos printed two to a page.
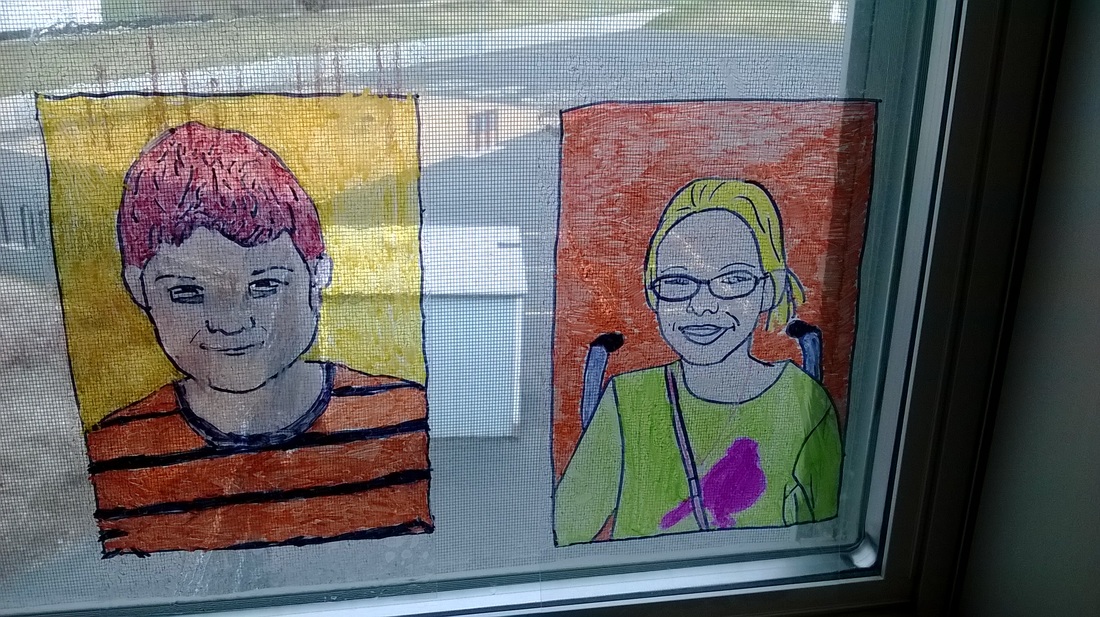
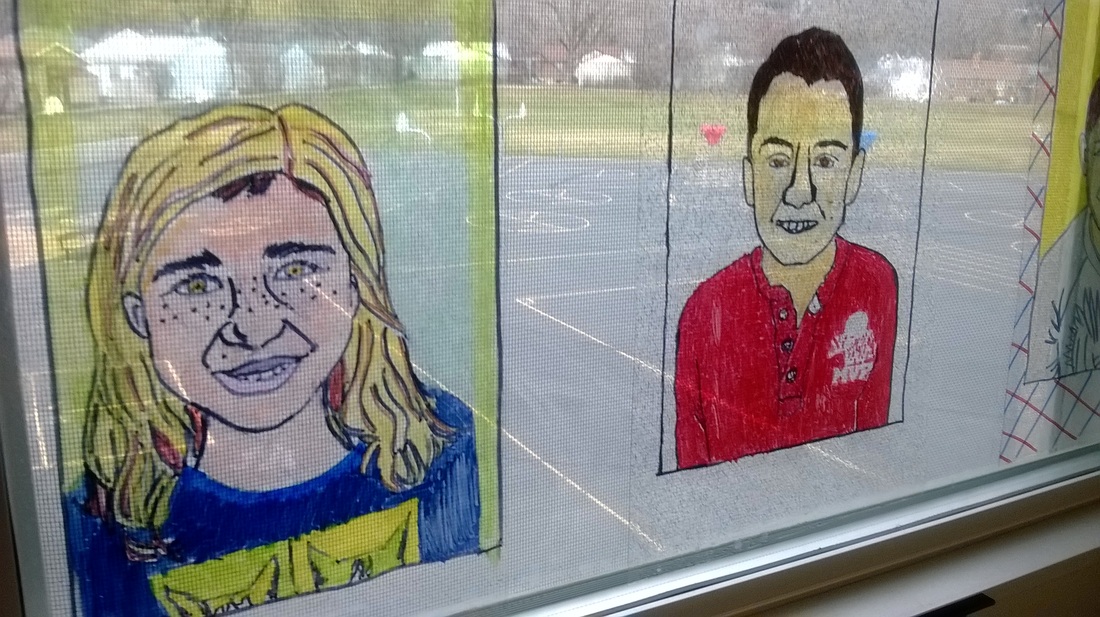
3. Have students center the clear vinyl over their photo and trace the basic outlines of their face and shoulders in black Sharpie.
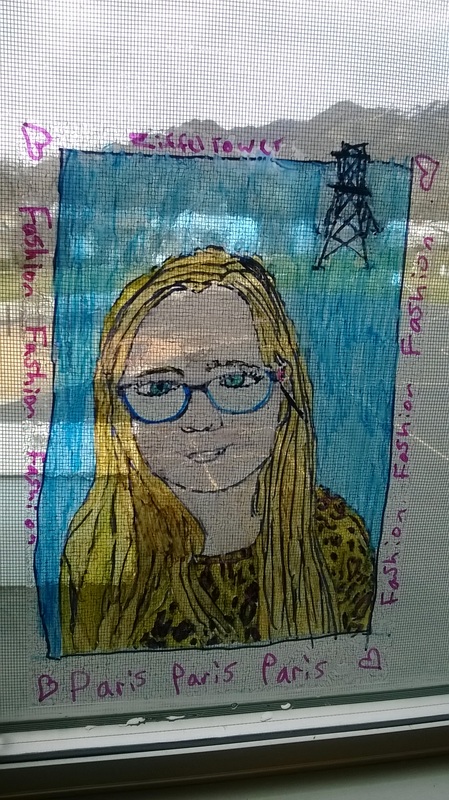
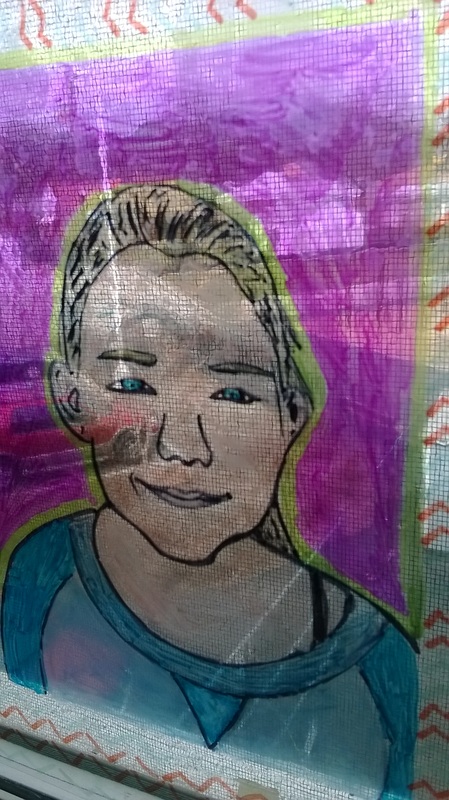
4. Have students color themselves and add a background or frame.
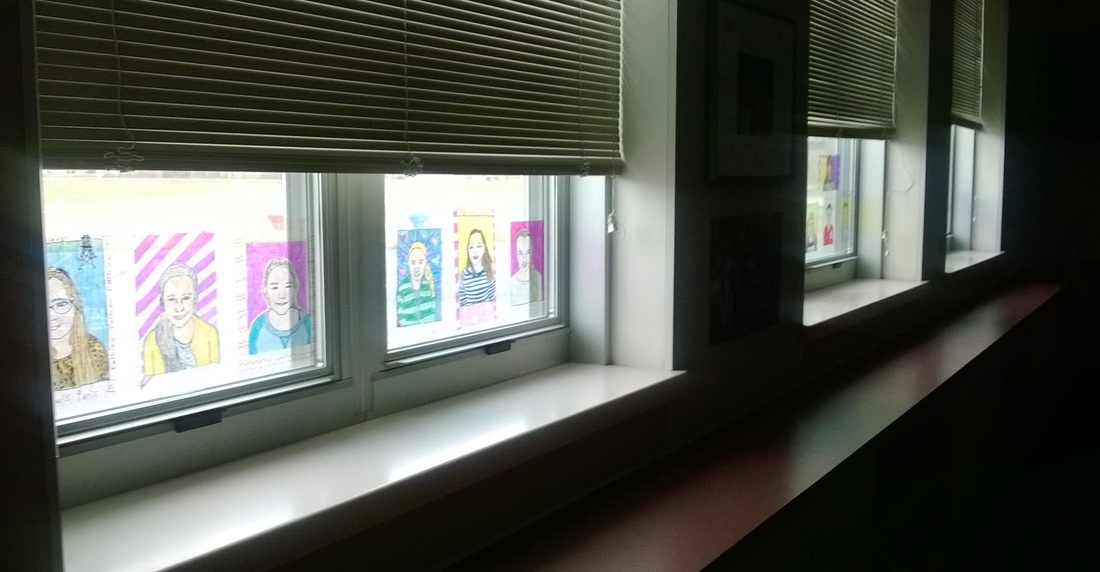
5. Spray a little water (1-2 spritzes) on the window and attach the window cling.
IMPORTANT: Make sure the Sharpie side is NOT against the window, or the Sharpie will come off on the window and ruin the student's project.
Everyone who came in my classroom loved to look at these. As light came through the window, the self portraits produced a stained glass effect. Thank you for your help with these, Amy Hemingway and Heather Erickson!
1. Take a photo of each student and print them out. Some photo editing programs offer a feature that will "outline" them for you, which makes it a bit easier for students to decide which parts to outline.
2. Cut the clear vinyl to match up with the photo but leave enough for a border. Mine were cut to about 5 1/2 x 8 1/2 (about half of a normal sheet of paper), because the photos printed two to a page.
3. Have students center the clear vinyl over their photo and trace the basic outlines of their face and shoulders in black Sharpie.
4. Have students color themselves and add a background or frame.
5. Spray a little water (1-2 spritzes) on the window and attach the window cling.
IMPORTANT: Make sure the Sharpie side is NOT against the window, or the Sharpie will come off on the window and ruin the student's project.
Everyone who came in my classroom loved to look at these. As light came through the window, the self portraits produced a stained glass effect. Thank you for your help with these, Amy Hemingway and Heather Erickson!
 RSS Feed